My workout habits from 2014 to 2017 are best described as ‘slowly atrophying.’ Sure, I’d go to the gym - sporadically - but my lack of commitment to any one program or strong internal desire to achieve my desired results hamstrung my ability to achieve any tangible progress. That all change one morning when, as I stared at myself in the mirror, I realised that the gut I’d fought and won against in high school had returned - only this time, there was no water polo or wrestling team to help me beat it back. Something had to be done.
Since I’d identified lack of commitment to be the main thing holding me back, I figured that I’d start my new gym process by eliminating all logistical excuses for why I couldn’t work out. Enter Peloton, the stationary bike with a touch screen. I thought it’d be a perfect solution to my commitment problem. It’s hard to justify not exercising when there’s an exercise machine in your living room. I mean, just look at it - it’s as sexy as any Apple product:
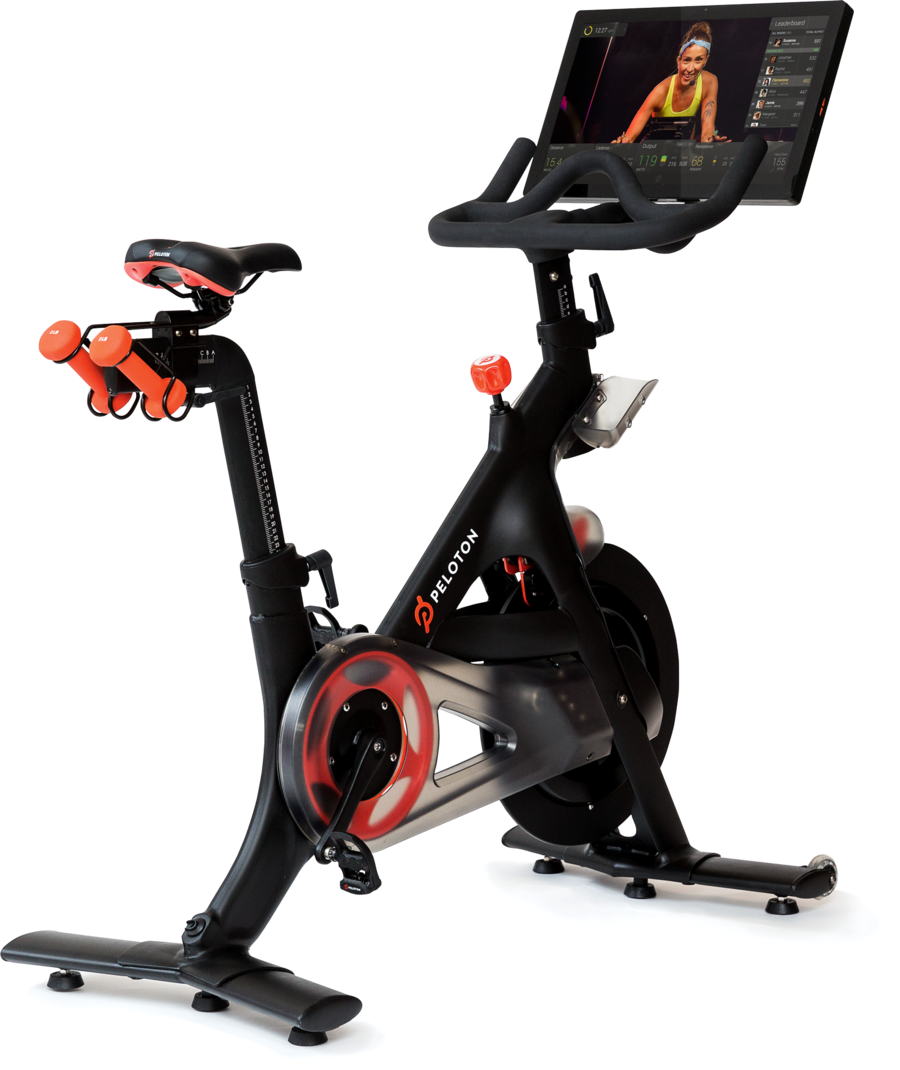
There was one drawback, however: the price. $2,000 is a lot of money to gamble on a workout plan that may not pan out. So, I decided to make my own by following this BoingBoing tutorial. I won’t rehash the tutorial itself. Instead, I’ll go over what it’s like to use a DIY Peloton bike for an extended amount of time and hopefully help answer the question of whether or not rolling your own justifies the price difference between simply buying the Peloton bike itself.
The bike itself was a great investment, and only has a few minor issues that I’ll outline below. I ended up buying a slightly cheaper model than the one the tutorial outlined - the Sunny Health & Fitness Pro. It requires some periodic maintenence that more expensive models likely won’t. The bike’s flywheel ships with a thin coating of lubricant that rubs off as you ride the bike. After about five or so rides, the bike’s resistance pads rubbed off all the lubricant and began squeaking. The squeaks were loud - loud enough for people in neighboring apartments to hear it. I bought a can of this silicone lubricant, and the issue cleared right up. You will need to reapply it every ten rides or so.
Additionally, the bike’s adjustment knobs need retightening prior to each ride. For example, if you don’t continually retighten the knob that holds the seat in place it will rotate laterally during your ride. There are only three adjustment knobs (excluding the one that dials in resistance), so tightening everything only takes about ten seconds. In sum, you get a lot of value out of this cheap bike if you’re willing to take care of it.
You will need some additional gear to see metrics and your Peloton class at the same time. I don’t own an iPad, so I use my AirPlay on my iPhone to cast it to my Apple TV. This works well. It may be my powerful WiFi setup, but I haven’t encountered any connectivity issues while AirPlaying my rides, which is surprising given my spotty experience of AirPlay in general. Regardless of whether you use an iPad, you can’t both view the class and your metrics at the same time. I bought a Wahoo ELMNT MINI Bike Computer, which pairs with my phone and presents my metrics during casting.
Speaking of metrics, one of the unfortunate drawbacks of running a DIY setup is that you don’t have any exact resistance or output numbers to match with the Peloton instructor’s. You’re stuck estimating, which is a somewhat sub-par experience. I’m waiting for a free weekend to build myself an electronic resistance counter.
Now for the big question: did putting a bike in my front room actually help me get fitter? The answer is a resounding yes. I’ve lost three pounds, and have stuck (almost) to a schedule of twice weekly cardio. There are two factors, I think, that contribute to this success. The first is the convenience of having the bike right there. I don’t have to go anywhere. I can ride at two in the morning, if I feel like it. I can hop in my own, clean shower right afterwards. The second factor is the quality of the Peloton classes themselves. I particularly enjoy the ones with Robin Arzon as the instructor. She’s high-energy and inspiring, and makes the 30 minute classes go by quickly. To conclude: a DIY setup should be more than adequate for anyone looking to enjoy spin classes at home.
Here’s the final cost breakdown (I included the mat, even though you don’t really need it):
| Item | Cost |
|---|---|
| Sunny Health & Fitness Pro Indoor Spin Bike | $245.24 |
| Wahoo RPM Sensor | $39.99 |
| Wahoo ELMNT MINI Bike Computer | $99.99 |
| DuPont Teflon Silicone Lubricant | $7.99 |
| PVC Cardio Mat | $29.99 |
Total: $423.20
Savings Over Peloton Bike: 78%